
 VCP Documentation
Appearance
Apps
A walkthrough of basic app functionality.
What are Apps?
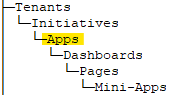
Apps are the third item within the hierarchy, following Tenants and Initiatives respectively.
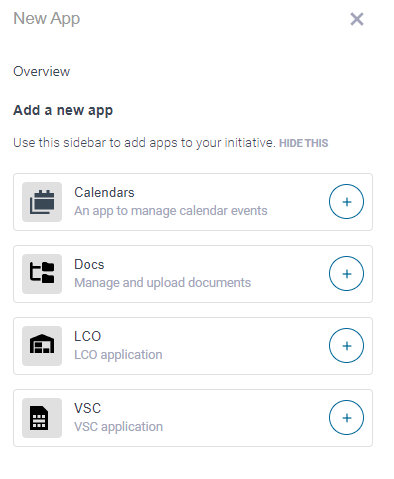
Like apps on other various platforms, you can add these applications to your Initiatives to enhance your exercises. Some of the various Apps that can be included can be seen below with more under development:
These standard types of Apps tend to take up an entire page but have more functionality, unlike Mini-Apps which can have multiple instances installed within the same Page.
Apps also have a special arrangement within the left side ribbon. After selecting an App from the pop-out side panel, when redirected, the side panel will now show with only 3 icons. That is because Dashboards and Mini-Apps cannot be added to an App. (Pages cannot be added to an App because an App takes up a full Page)
Accessing Apps
To access the Apps, click the ‘Apps’ icon in the black left side toolbar. A panel will pop out with app creation/editing abilities if enabled, as well as any available apps that have already been created.
The current App will be displayed at the bottom of the toolbar and will be “lit up” amongst the other icons.
Creating a New App
To create a new App, first click on the App icon in the black left-hand sidebar. Once clicked, a new sidebar will open showing the Apps along with the plus button above and to the right. Clicking the plus button will yield a panel for ideation on the right side of the screen.
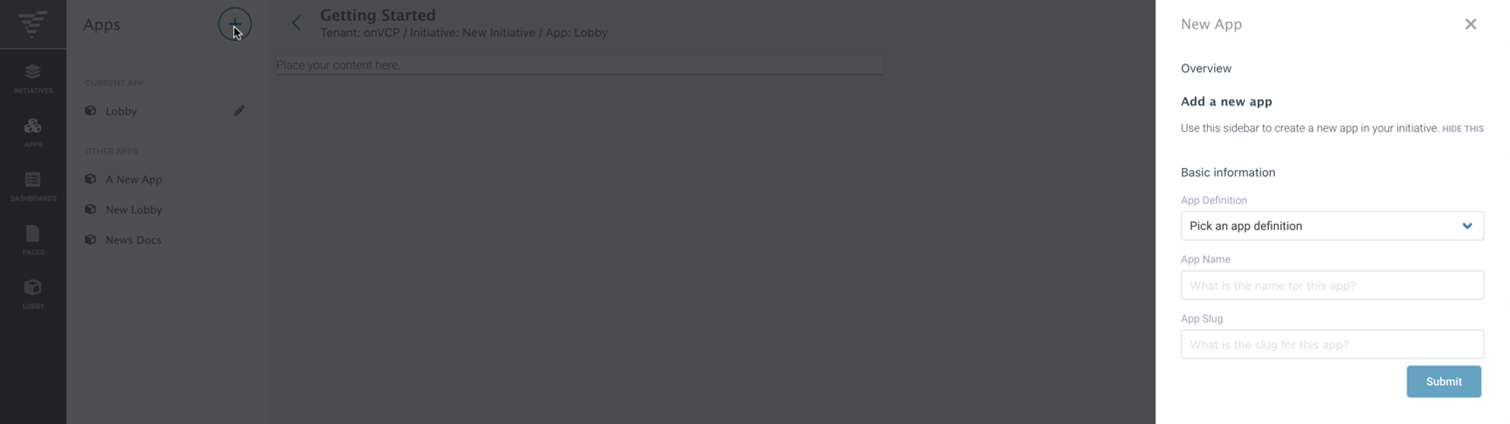
Select an App Definition from the various options and name the app. The App Slug (the website link) will be generated based on the name you entered for the app, but feel free to change it to fit your needs by clicking in the App Slug field and altering it. Once ready to create, click the ‘Submit’ button, and the new App will appear in line with the other Apps already created.
The user experience is only as good as the App experience, it is up to the Development teams and Points of Contact (POCs) to set up the App to make the user experience the most pleasant that it can be.
Editing An App
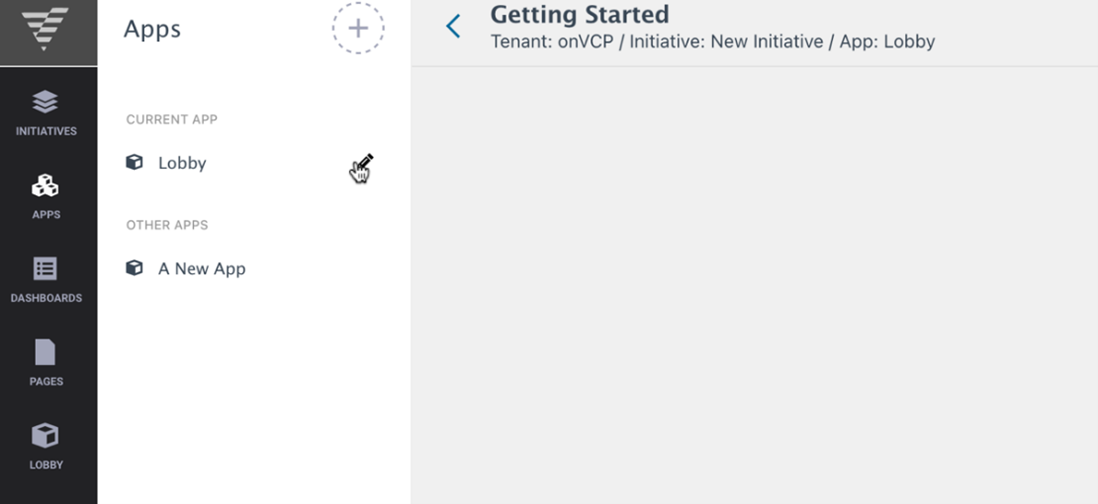
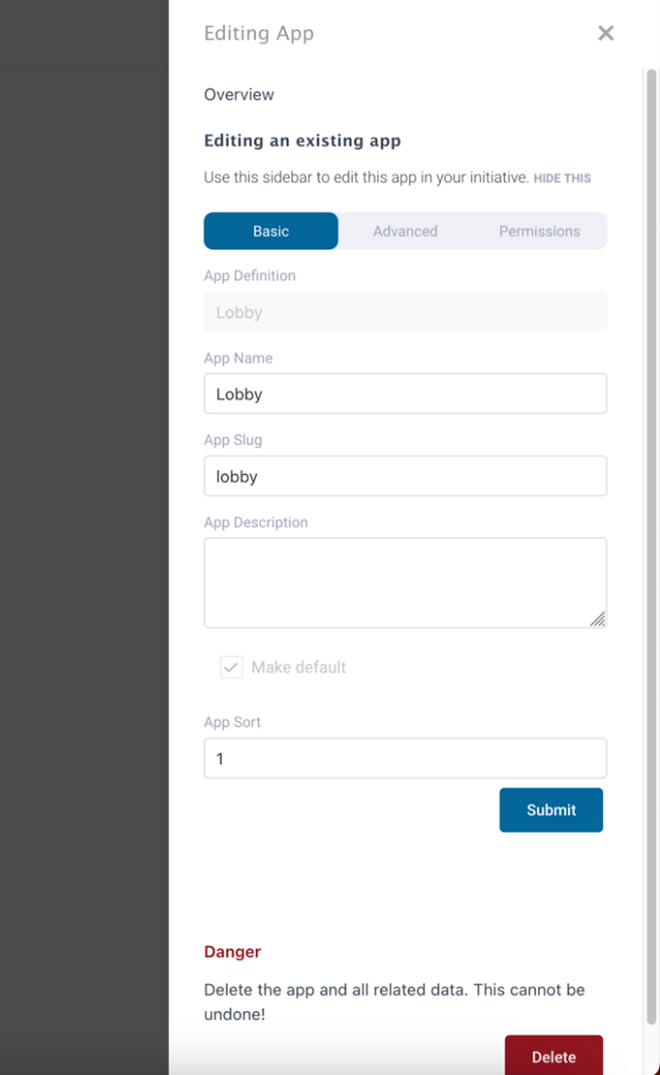
To edit an App, if not already selected, from the left side panel, click on the intended App to switch to that App. A pencil icon will appear next to the name of the current App. Click on the pencil icon to open the 'Editing App' side panel.
In the 'Editing App' side panel, different aspects of the App can be revised including the Name, Slug, Description, and Sort. This is also where Apps can be deleted as well. Depending on the User’s Permissions, they may have access to the Advanced and Permissions tabs. Those tabs can further alter the Apps by choosing who is allowed access to them, choosing the hierarchy, and highlighting among other things.
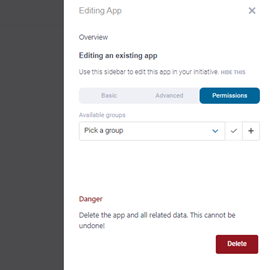
Under the Permissions tab, there is an ability where you can add a group to give them access to an app (if you have clearance to do so). If no one is listed, you can click the link to start adding groups. Some groups are made by default and others you can add yourself given your needs.
To select a group, choose one from the drop-down and press the check mark when finished. If you can add members to a group, you can do so here by clicking on the group's name, otherwise, contact your System Administrator.
To create a group, click on the plus sign, a new panel will open over the previous one to accept information like the group's name and description. There is also a box to check to allow group chatting. If this box is checked, you will then see under your chat panel that you can communicate with other added members in this group chat. (For more information on chatting, see the Chat section.)
After pressing 'Submit' and persisting changes, you can now use this group to fulfill its purpose.