 VCP Documentation
Appearance
Chat
Real-time communication.
How to Chat
To commence chatting, click on the speech bubbles icon in the top right corner of the page, next to your Account icon (the initials for your Account).

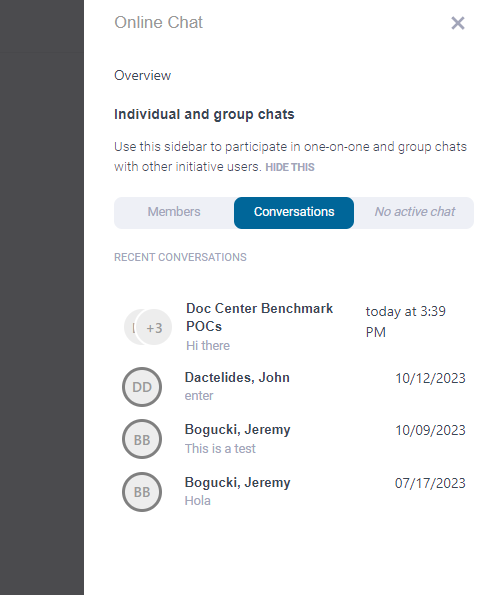
Doing so will open a right sidebar that will include all online users that are possible to chat with.
The Chat side panel has three tabs, but only two are usable at will – Members and Conversations.
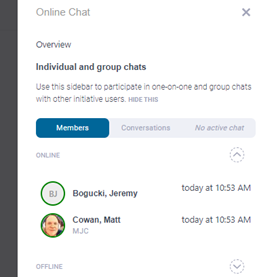
Members will show all the Users, both online and not. Messages can be left for Users regardless of their online status.
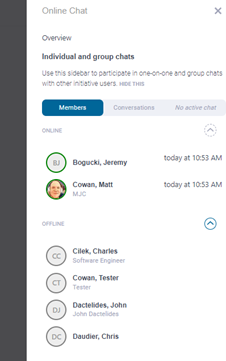
There will be a downward-facing arrow within a circle that can be clicked on to expand the list of offline users if you choose to view them.
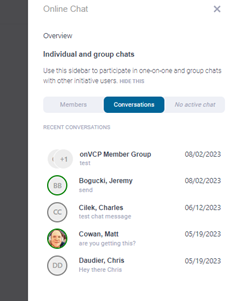
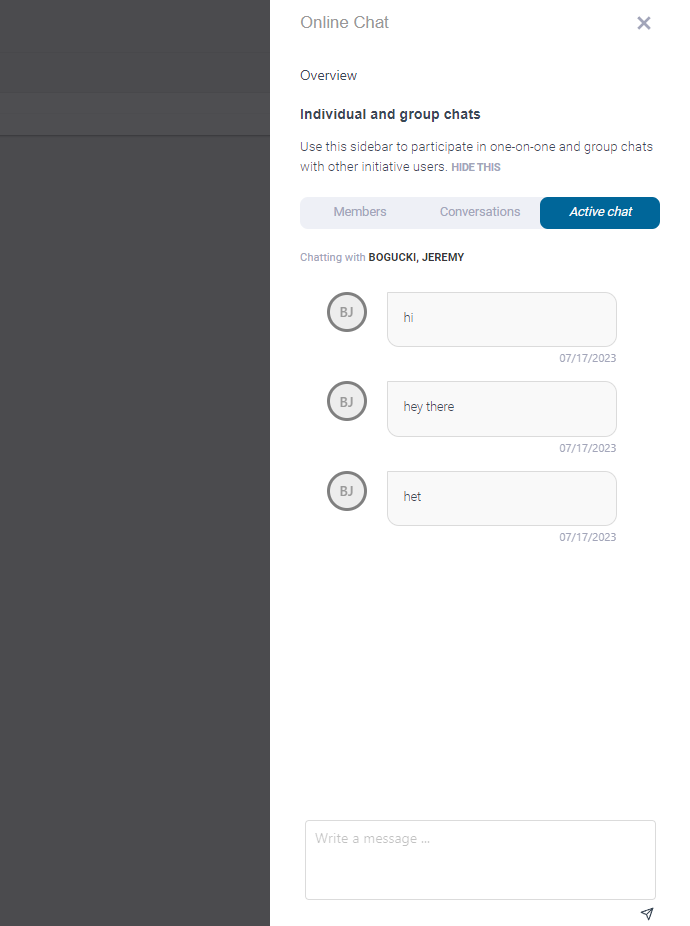
Under the Conversations tab, there is an ongoing list of all the Users that you’ve chatted with, or group chats you’ve been involved in. Messages can be sent to Users via either of these tabs.
Select the User you want to chat with by clicking on their name and a chat dialog will open. The bottom will accept your text and press 'Enter'/'Return' on your keyboard or click the arrow to send the message.
How to Group Chat
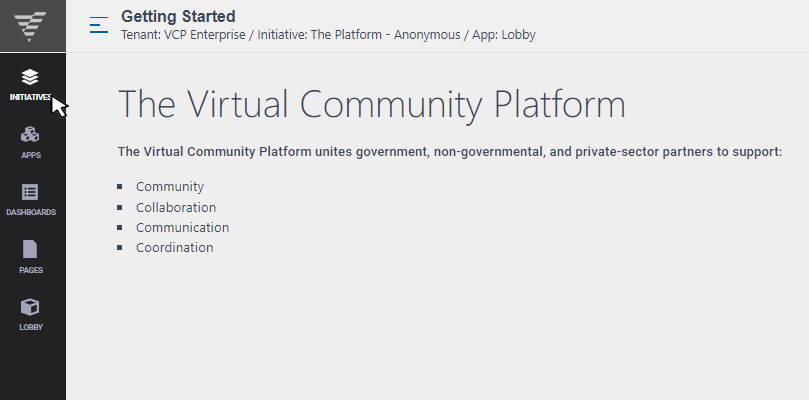
To group chat, you must first be in a Group. You can do so by heading over to the Initiative icon on the black left-hand sidebar and clicking it.
Next to your current Initiative, a sidebar will slide out, click on the pencil to edit the current Initiative (if you have permission to do so, otherwise, please contact your System Administrator). When the sidebar opens on the right side of the screen, click on the 'Permissions' tab. You will then see a list of all the groups currently listed on the Initiative.
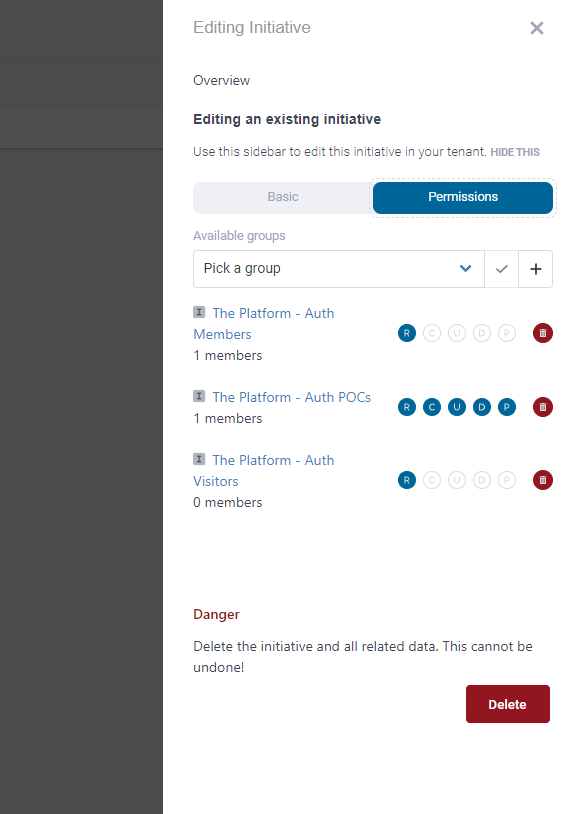
Once there, click on a pre-existing Group already listed, select a Group from the drop-down arrow, or create a new one by pressing the plus sign.
TIP
If creating a new Group, see the section about creating a new group here for more information.
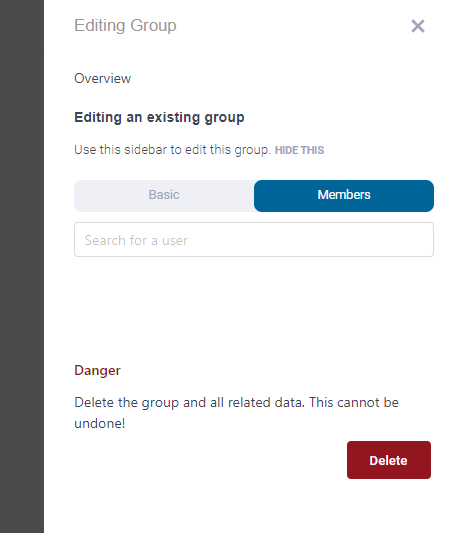
You can further customize the Group when clicking on the group name. The 'Editing Group' panel will then appear where the name and description of the Group can be edited.
TIP
Make sure the 'Allow group chatting' box is toggled, as the chat will not appear unless this box is checked!
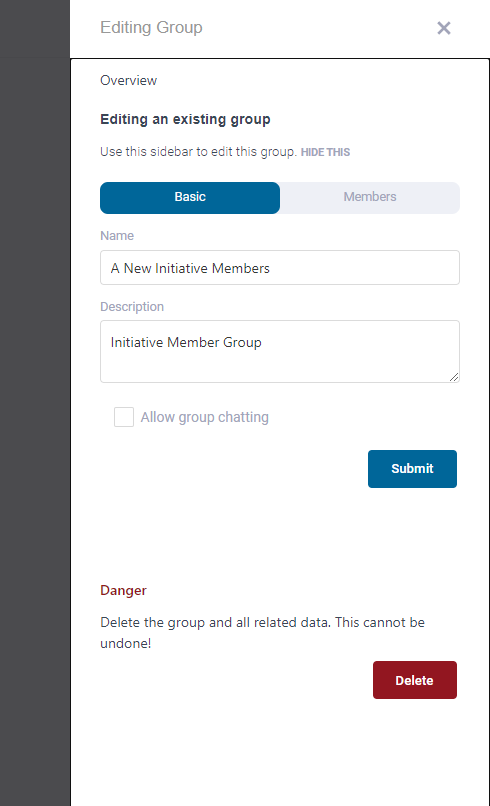
There is also the Members tab. Here, you can remove members that already are in the Group and add new ones to suit your needs.
When finished with your changes, close out of this current tab to be brought to the previous 'Editing Initiative' tab, then press the blue 'Submit' button at the bottom to persist all changes. Once the side panel closes, navigate over to the top right of the previous page, and click on the two chat bubbles next to the profile icon.

Once clicked, navigate over to the 'Conversations' tab and you should now see a group chat with all the selected members named after the current Initiative. Click the group chat to begin conversing.